
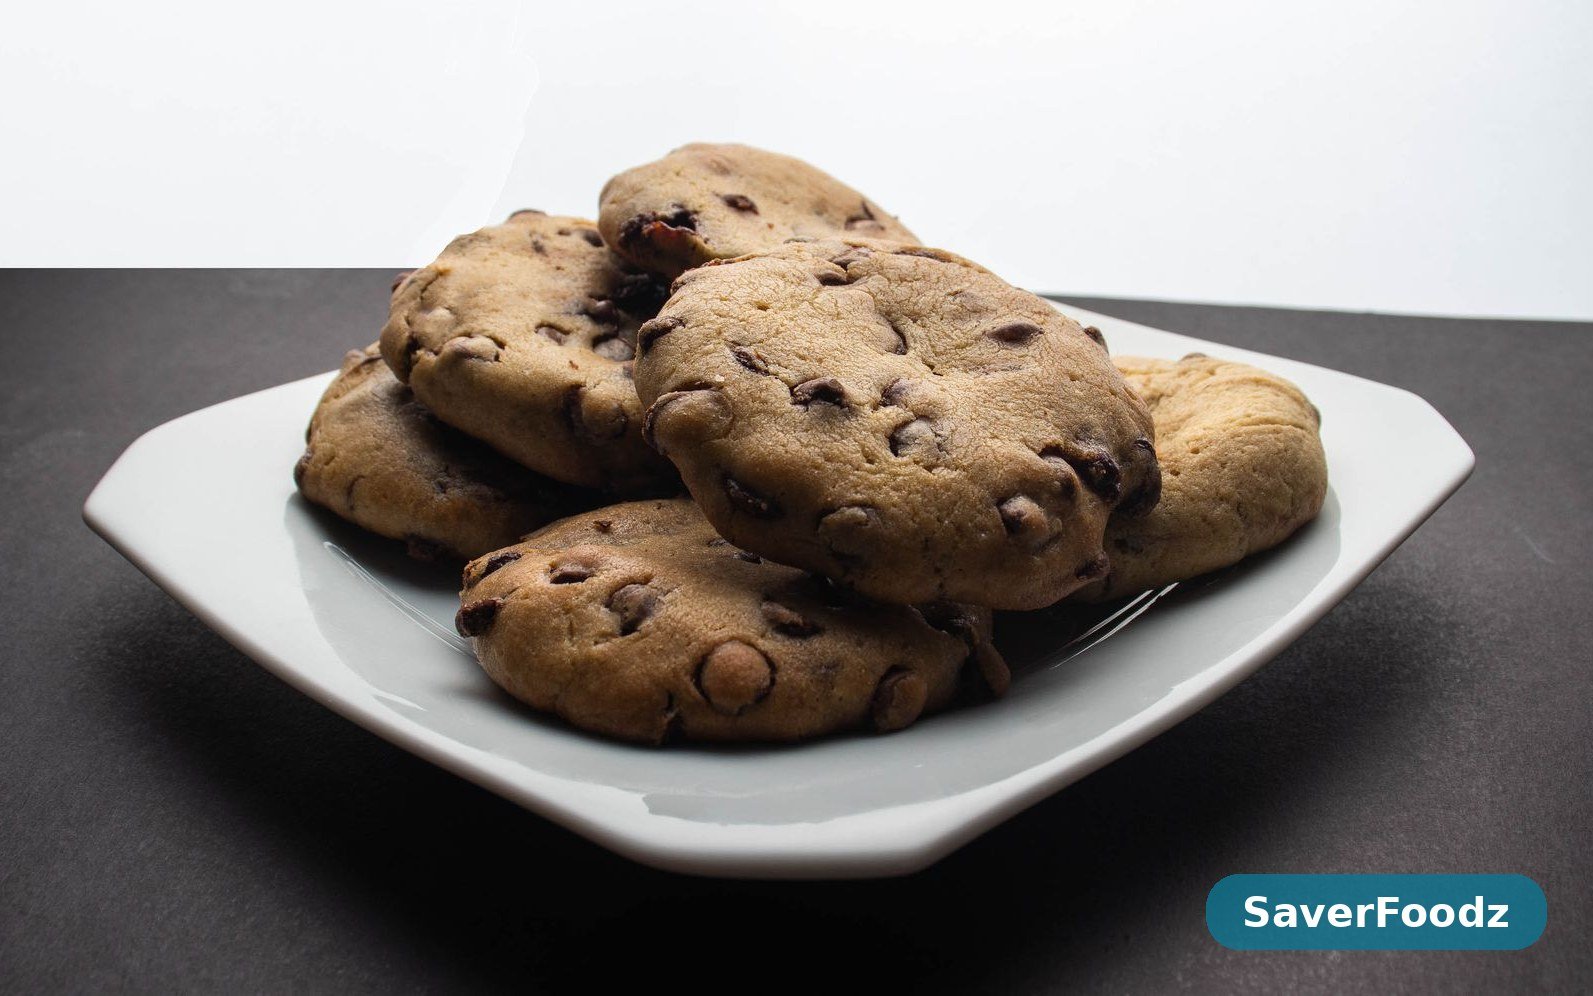
Classic Chocolate Chip Cookies
There are recipes you make once and forget about, and then there are recipes that quietly become part of the house. Classic chocolate chip cookies are the second kind. They are the smell that meets you at the front door, the plate that empties itself before it has properly cooled, and the thing my family asks for whenever anyone says the words “bake something.” I have made these cookies more times than I can count, and I still look forward to the moment the oven timer goes off and the kitchen smells like browned butter and melted chocolate.
This is not a fancy cookie. It does not need a stand mixer, a piping bag, or anything you would have to go out and buy specially. It is butter, sugar, eggs, flour, and chocolate chips, mixed in one bowl and baked in about ten minutes a batch. What makes it good is not a secret ingredient. It is a handful of small details done properly: butter that is soft but not melted, dough that rests for a few minutes, and cookies that come out of the oven when they still look slightly underdone in the middle. Get those three things right, and you get cookies with crisp golden edges, soft chewy centres, and chocolate that stays a little bit molten when you break one open.
I first learned to make chocolate chip cookies from my mother, who made them on Sunday afternoons when the house was quiet and there was nothing much else to do. She did not measure anything with scales. She used the same chipped mug for the flour and the same spoon for the baking soda, and the cookies came out the same way every single time. I have since written the recipe down properly, with real measurements, because “a mug of flour” is not much use to anyone else. But the spirit of it is the same. It is a forgiving recipe, the kind that lets you make a mess and still ends up tasting wonderful. If you can stir, you can make these cookies.
Part of what I love about this recipe is how little it asks of you. There is no chilling the dough overnight, no rolling, no cutting, no decorating. You mix everything in one bowl, scoop it onto a tray, and twelve minutes later you have warm cookies. The whole thing, from the moment you take the butter out of the fridge to the moment the first tray comes out of the oven, takes about half an hour. That is fast enough for a weeknight, easy enough for a child to help with, and good enough that people will assume you spent far longer on it than you did.
What follows is the version I make most often: a batch of about twenty-four cookies, with a mix of brown sugar and white sugar for flavour and chew, two kinds of chocolate chips if you have them, and a little sea salt on top for anyone who likes that sweet-salty edge. It works with plain chocolate chips, it works with chopped chocolate, and it works with whatever is already in your cupboard. Once you have made it once, you will not need the recipe again. It will just be one of those things you know how to do.
Why You Will Love This Recipe
First, it is genuinely simple, and I mean that in the best possible way. There is no creaming butter for ten minutes, no separating eggs, no dough that needs to rest in the fridge. You melt nothing, you chill nothing, and you do not need any special equipment beyond a bowl, a spoon, and a baking tray. If you have baked before, you will find this recipe almost relaxing. If you have never baked before, this is a good place to start, because it is very hard to get wrong and very easy to get right.
Second, the cookies taste like the ones you remember, only better. The brown sugar gives them a deep, almost caramel-like flavour that white sugar alone never manages, and it keeps the centres soft for days. The edges turn golden and crisp, the middles stay chewy, and the chocolate chips melt into little pools that are still warm when the cookies come out of the oven. They taste homemade in the best sense of the word, like something made by a person rather than a factory, and that is exactly what they are.
Third, the recipe is flexible in the way good home recipes should be. Do not have brown sugar? Use all white sugar, and the cookies will be a little crisper. Do not have chocolate chips? Chop up a bar of chocolate, or use white chocolate, or throw in a handful of nuts. Want them bigger? Scoop larger balls of dough and add a couple of minutes to the baking time. Want them smaller? Make them bite-sized and bake them for less. Once you understand the basic dough, you can change it a dozen ways and still end up with good cookies. That is what makes a recipe worth keeping.
Finally, these cookies are useful in a way that sounds silly until you need them. They are the thing you bake when a neighbour drops by, when a child needs something for a school bake sale, when a friend is having a bad week, or when you simply want the house to smell wonderful. They pack well, they travel well, and they freeze well. A batch of these in a tin on the kitchen counter solves a surprising number of small problems. I have yet to meet a situation that a warm chocolate chip cookie did not improve, at least a little.
Ingredients You Will Need
For the dough, you will need 1 cup (225 g) of unsalted butter, softened to room temperature, 3/4 cup (150 g) of brown sugar, 1/2 cup (100 g) of white sugar, 2 large eggs, 2 teaspoons of vanilla extract, 2 1/4 cups (280 g) of plain flour, 1 teaspoon of baking soda, 1 teaspoon of salt, and 2 cups (340 g) of chocolate chips. A pinch of flaky sea salt for the tops is optional, but I recommend it. The butter is the one ingredient worth getting right. It should be soft enough to press a finger into easily, but not so soft that it is greasy or melting. Take it out of the fridge about half an hour before you start, and if you forget, cut it into small pieces and it will soften in ten minutes.
The two sugars do different jobs, and that is why the recipe uses both. Brown sugar brings moisture and a deep, toffee-like flavour, and it is the reason the cookies stay soft and chewy in the middle. White sugar brings sweetness and helps the edges crisp up and turn golden. If you only have one of them, the cookies will still work, but they will not be quite the same. Dark brown sugar gives an even deeper flavour than light brown sugar, so use whichever you have. If you want to know more about how this cookie came to be, this history of the chocolate chip cookie is a good short read, and it explains why the recipe has barely changed since it was first invented.
For the chocolate, you can use any kind you like, and this is where the recipe becomes yours. Semisweet chocolate chips are the classic choice, and they are what I use most often, because they hold their shape and do not make the cookies too sweet. Milk chocolate chips make a sweeter, softer cookie that children tend to prefer. Dark chocolate, chopped from a bar, gives you those lovely irregular pools of melted chocolate that look so good when you break a cookie in half. I sometimes use half chips and half chopped chocolate, which gives you the best of both. Whatever you choose, do not skimp. Two cups sounds like a lot, and it is, and that is the point.
A note on the flour: spoon it into your measuring cup and level it off with a knife, rather than scooping the cup straight into the bag. Scooping packs the flour down, and you can easily end up with a quarter cup too much, which makes the cookies dry and cakey. It is a small detail and it makes a real difference. If you have a kitchen scale, weigh the flour instead. Two hundred and eighty grams, every time, and you will never have to wonder why one batch came out differently from the last.
How to Make Classic Chocolate Chip Cookies
Start by heating your oven to 350 degrees Fahrenheit (175 degrees Celsius) and lining two baking trays with baking paper. If you only have one tray, that is fine. You will just bake in batches, and the dough will wait happily on the counter while the first tray is in the oven. Lining the trays matters more than it sounds. It stops the cookies from sticking, it makes the trays easy to clean, and it means you can slide a whole sheet of warm cookies off the tray in one go.
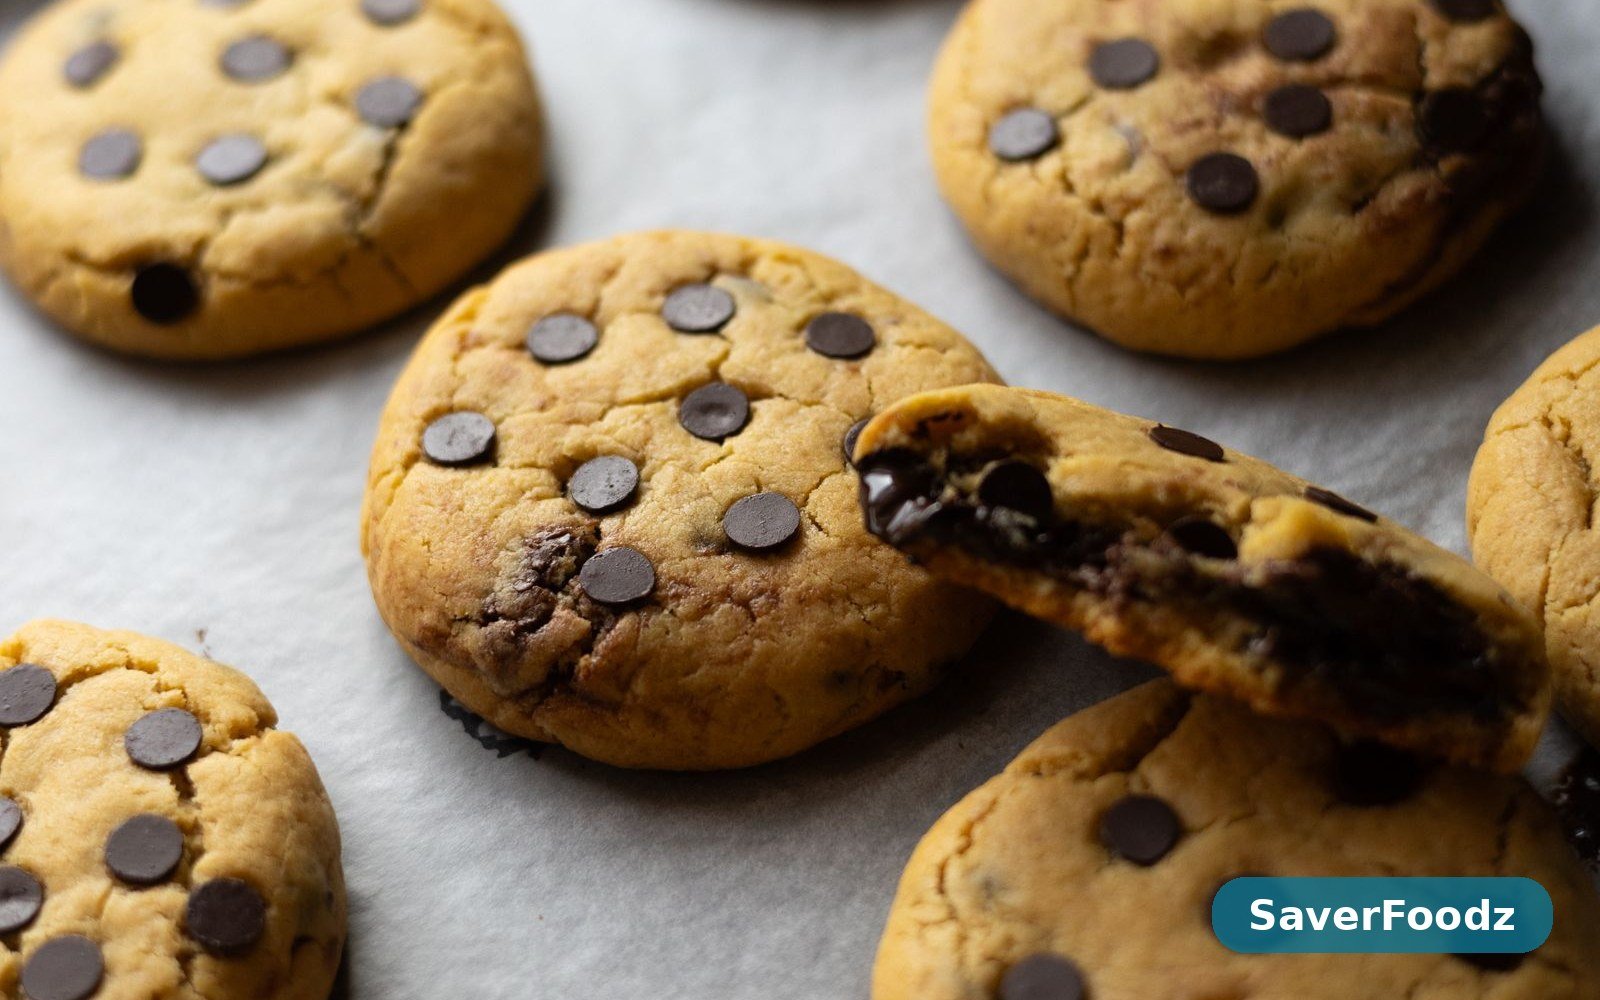
Put the softened butter, the brown sugar, and the white sugar into a large bowl, and beat them together with a wooden spoon or an electric mixer for about two minutes, until the mixture is light, fluffy, and pale. This is the only part of the recipe that needs a little effort, and it is worth it. Beating the butter and sugar together traps tiny pockets of air in the mixture, and those pockets are what make the cookies rise and turn tender rather than flat and dense. Do not rush this step. Two minutes of beating is the difference between a good cookie and a great one.
Add the eggs one at a time, beating well after each one, then stir in the vanilla extract. The mixture might look slightly curdled after the eggs go in, and that is completely normal. It will come back together as soon as the flour goes in. Use room-temperature eggs if you can. Cold eggs straight from the fridge can make the butter seize up and go lumpy, and while the cookies will still taste fine, the dough will be harder to mix. If you forgot to take the eggs out, put them in a bowl of warm water for five minutes and they will be ready.
In a separate bowl, whisk together the flour, baking soda, and salt. Then add the dry ingredients to the butter mixture in two or three goes, stirring gently until the flour just disappears. Do not overmix. The moment you cannot see any dry flour, stop stirring. Overmixing develops the gluten in the flour, and that is what turns cookies tough and bread-like instead of tender. A few streaks of flour are better than a perfectly smooth dough. Fold in the chocolate chips last, stirring just enough to scatter them evenly through the dough.
Scoop the dough onto the lined trays, using about two tablespoons per cookie, and leave about two inches of space between them. They will spread as they bake, and if they are too close together, they will run into each other and turn into one enormous cookie. That is not a disaster, and it still tastes wonderful, but it is not what you were aiming for. If you want your cookies to look neat, roll each scoop into a ball with your hands first. If you do not mind a more rustic look, just drop the scoops as they are. Sprinkle a little flaky sea salt on top of each one if you like that sweet-salty finish.
Bake one tray at a time for 10 to 12 minutes, until the edges are golden and set but the centres still look slightly soft and pale. This is the most important part of the whole recipe. The cookies will not look done when they are done. If you wait until the centres look firm, you have waited too long, and the cookies will be crisp all the way through by the time they cool. Take them out while the middles still look underdone, and leave them on the tray for five minutes. They will finish cooking in the heat of the tray, and they will set into exactly the soft, chewy cookies you wanted. Then move them to a wire rack to cool completely, or eat them warm, which is what most people do.
Tips for the Best Chocolate Chip Cookies
The single most important tip is about the baking time. Every oven is slightly different, and yours might run hot or cold by ten or twenty degrees. The first time you make this recipe, watch the first tray closely and take notes. If the cookies spread too much and come out flat, your butter was probably too soft, or your oven was not hot enough when the tray went in. If they stay in little mounds and do not spread at all, your dough might have had too much flour, or the butter was too cold. Small adjustments make a big difference, and by the second batch you will know exactly what your oven does.
The second tip is about the dough. If you have the patience for it, let the dough rest for twenty minutes before you scoop it. It is not required, and the cookies will be good without it, but resting lets the flour absorb the moisture from the eggs and butter, and the flavour deepens noticeably. The cookies come out a little thicker, a little chewier, and a little more golden. If you have even more patience, you can chill the dough in the fridge for an hour or overnight, and the cookies will be better still. But if you want cookies now, make them now. A warm cookie in ten minutes beats a perfect cookie tomorrow.
The third tip is about the chocolate. Save a small handful of chocolate chips and press them into the tops of the dough balls before baking. It takes ten seconds, and it makes the finished cookies look like the ones in a bakery window, with glossy pools of chocolate on top instead of all of it hidden inside. It is a tiny thing, and nobody will know why your cookies look so good, but they will notice. The same trick works with the sea salt. A few flakes on top, before the tray goes in the oven, and the cookies look finished in a way that plain cookies do not.
Finally, do not crowd the oven. Bake one tray at a time, on the middle shelf, so the heat circulates evenly around the cookies. If you bake two trays at once, the bottom one will cook faster than the top one, and you will end up with one tray of perfect cookies and one tray of pale ones. If you must bake two trays, swap them halfway through. And always let the tray cool down between batches. Scooping dough onto a hot tray melts the butter before the cookies even reach the oven, and they will spread into thin, greasy discs. A cool tray, a hot oven, and ten minutes of patience. That is the whole secret.
Variations to Try
Once you have the basic version down, this dough is easy to change. For a nutty version, add a cup of chopped walnuts or pecans along with the chocolate chips. The nuts toast as the cookies bake, and they add a crunch that works beautifully against the soft dough. Toast the nuts in a dry pan for a few minutes first if you have the time. It deepens their flavour, and it takes almost no effort. This is the version I make most often in autumn, when the evenings turn cold and something warm from the oven feels like exactly the right thing.
For a double chocolate version, replace a quarter cup of the flour with cocoa powder, and use white chocolate chips instead of semisweet. The cookies come out dark, rich, and almost brownie-like, with pale chips scattered through them. They are sweeter than the classic version, and they are very popular with children. A pinch of instant coffee stirred into the dough with the cocoa deepens the chocolate flavour without making the cookies taste like coffee. It is a trick bakers have used for years, and it works.
For an oatmeal chocolate chip version, replace one cup of the flour with one and a half cups of rolled oats. The cookies turn out heartier and chewier, with a lovely rustic texture, and they stay soft for even longer than the classic version. A teaspoon of cinnamon in the dough suits this version particularly well. It is a good cookie for lunchboxes, because it holds together well and does not crumble, and it feels like a slightly more sensible choice, even though it is still very much a cookie.
For a stuffed version, flatten a ball of dough in your palm, put a small square of chocolate or a spoonful of peanut butter in the middle, and fold the dough around it. Bake as normal, adding a minute or two to the time. When you bite into the cookie, the centre is warm and molten, and it feels like a small celebration. This is the version to make when you want to impress someone. It takes a little more effort, but the look on a person’s face when they break one open makes it worth every second.
What to Serve With Them
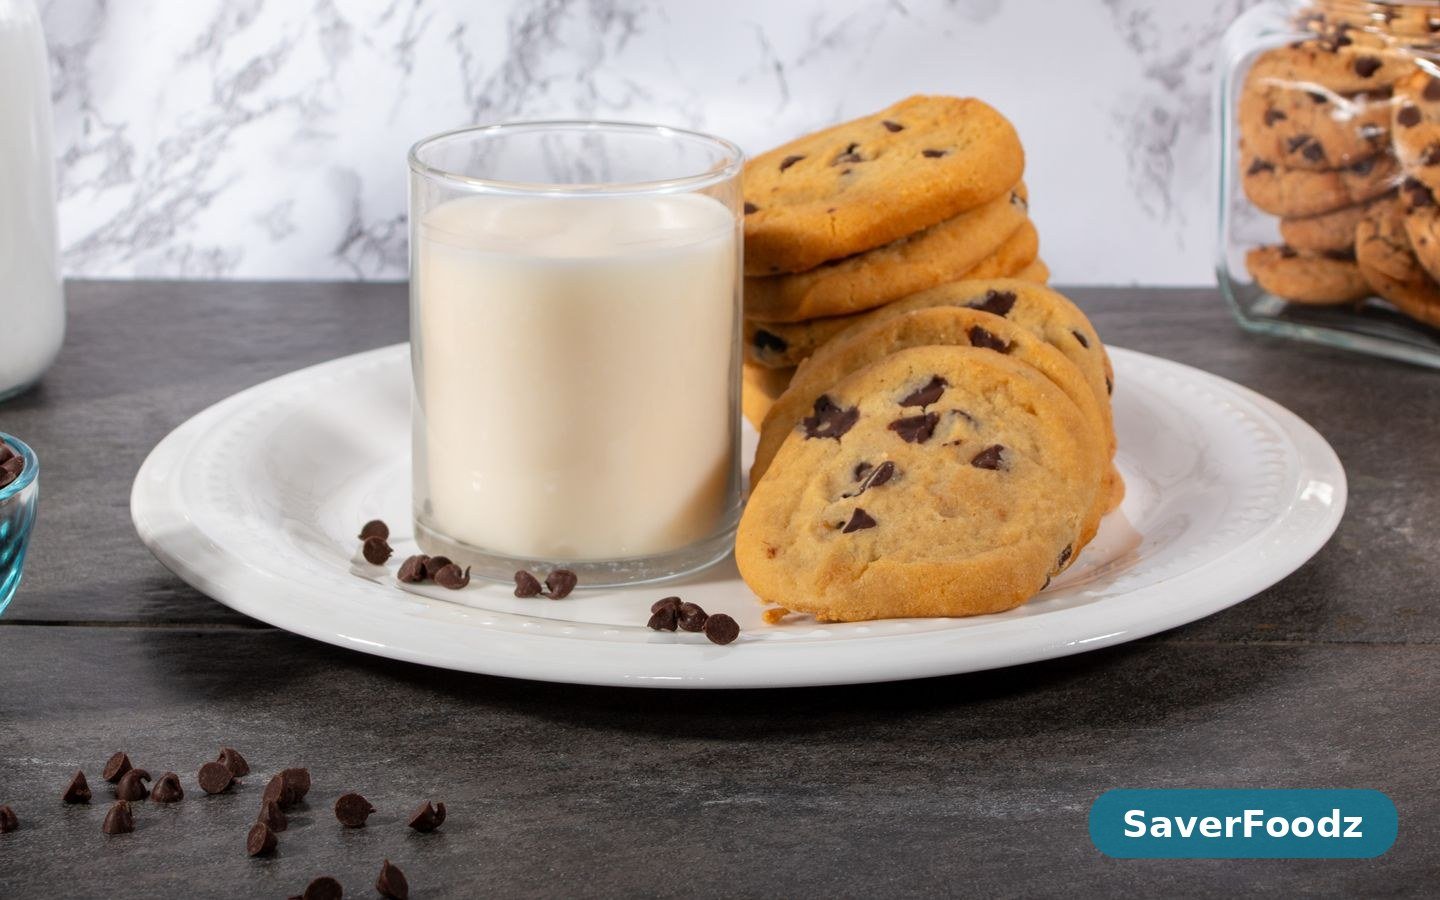
Chocolate chip cookies barely need a partner. A glass of cold milk is the classic, and it is a classic for a reason. The cold milk against the warm cookie, the way the cookie softens slightly when you dip it, is one of those small pleasures that never gets old. Coffee works just as well, especially in the afternoon, when a cookie and a cup of coffee turn an ordinary break into something worth looking forward to. Hot chocolate is the third option, and it is the one for cold evenings, when the house is quiet and the rain is on the windows.
If you are serving these cookies after dinner, they make a lovely ending to a simple meal. They are the perfect follow-up to something like our one-pan lemon herb chicken orzo, which is light enough that there is still room for something sweet, or after our creamy garlic butter chicken thighs on a night when you feel like pushing the boat out a little. For a lighter dinner before dessert, our air fryer honey glazed salmon leaves just enough space for two cookies and a cup of tea. And if you want more ideas in the same sweet family, browse our desserts and baking recipes — the whole point of that collection is treats like these, made with ordinary ingredients and a little bit of patience.
Storage and Make-Ahead
Baked cookies keep well in an airtight container at room temperature for up to 5 days, and they will stay soft if you put a slice of bread in the container with them. The bread goes stale and the cookies stay soft, which feels like a magic trick the first time you see it, but it really does work. The cookies will not be quite as crisp at the edges on day three as they were on day one, but they will still taste wonderful, and a few seconds in the microwave will bring back most of the warmth.
You can also freeze the dough, which is the best way to have fresh cookies whenever you want them. Scoop the dough into balls, freeze them on a tray until solid, then put them in a freezer bag. They will keep for up to 3 months. When you want cookies, bake them straight from frozen, adding two or three minutes to the baking time. There is no need to thaw them first. It is one of the best kitchen habits I know: a bag of frozen cookie dough in the freezer means warm cookies are never more than fifteen minutes away.
Baked cookies freeze well too, for up to 2 months, in an airtight container with baking paper between the layers. Thaw them at room temperature for half an hour, or warm them in a low oven for five minutes. They will not be quite as good as fresh from the oven, but they will be very close, and they are perfect for lunchboxes and bake sales. If you are planning ahead for a party, bake them the day before, store them in a tin, and nobody will know the difference. A cookie baked yesterday and kept properly is still a very good cookie.
Frequently Asked Questions
Why did my cookies spread out flat?
Cookies usually spread flat for one of three reasons: the butter was too soft or melted, the dough was too warm, or there was too little flour. If your butter was almost liquid when you mixed it, the dough will be too soft to hold its shape, and the cookies will spread into thin discs. Next time, use butter that is soft but still holds its shape, and if your kitchen is warm, chill the scooped dough on the tray for ten minutes before baking. Too little flour has the same effect, so measure carefully, and if your cookies still spread, add an extra two tablespoons of flour to the dough next time.
Why did my cookies come out hard instead of chewy?
Hard cookies almost always mean they were baked for too long, or the oven was too hot. Remember that the cookies keep cooking on the tray after they come out of the oven, so they should look slightly underdone in the middle when you take them out. If you wait until they look firm, they will be hard by the time they cool. The other common cause is too much flour, which dries the dough out, so spoon the flour into the cup rather than scooping it. Brown sugar also matters here. It keeps the cookies moist, so if you used all white sugar, the cookies will be crisper and harder.
Can I use salted butter instead of unsalted?
Yes, and the cookies will still be very good. Just leave out the teaspoon of salt in the recipe, or reduce it to half a teaspoon, since salted butter already contains salt. The amount of salt in butter varies from brand to brand, so it is hard to give an exact number, and tasting the dough is the best guide. I use unsalted butter because it gives me control over the salt, and because a little extra salt on top makes the chocolate taste better, but salted butter is a perfectly good swap.
Do I need to chill the dough before baking?
No, you do not need to, and this recipe is designed to work without chilling. The cookies will be good baked straight away. But if you have the time, chilling the dough for thirty minutes will make the cookies a little thicker and chewier, and the flavour will be slightly deeper. The difference is real, but it is not dramatic, and it is not worth waiting for if you want cookies now. If your kitchen is very warm, though, a short chill is worth doing, because warm dough spreads more than cool dough, and a ten-minute rest in the fridge can be the difference between a thick cookie and a flat one.
Can I make these cookies gluten-free?
Yes. Replace the plain flour with a gluten-free flour blend that is designed as a one-to-one replacement, and the cookies will work well. They may spread slightly more and be a little more delicate, so let them cool on the tray for a full ten minutes before moving them, or they may break. Make sure your oats, if you are using the oatmeal variation, are certified gluten-free, and check that your chocolate chips are gluten-free too. Most major brands are, but it is worth checking the packet. For more baking inspiration, browse this chocolate chip cookie collection.
How do I keep my cookies soft for longer?
The best trick is the slice of bread in the storage container, as described above. The bread dries out and the cookies stay soft, and you just replace the bread every couple of days. The second trick is not to overbake them in the first place, because a cookie that starts out soft stays soft for longer. And the third is to store them properly, in an airtight container, rather than leaving them out on a plate where the air dries them out. If they do go a little firm, ten seconds in the microwave brings them right back, especially if you put a damp paper towel over them first.
One Comment