
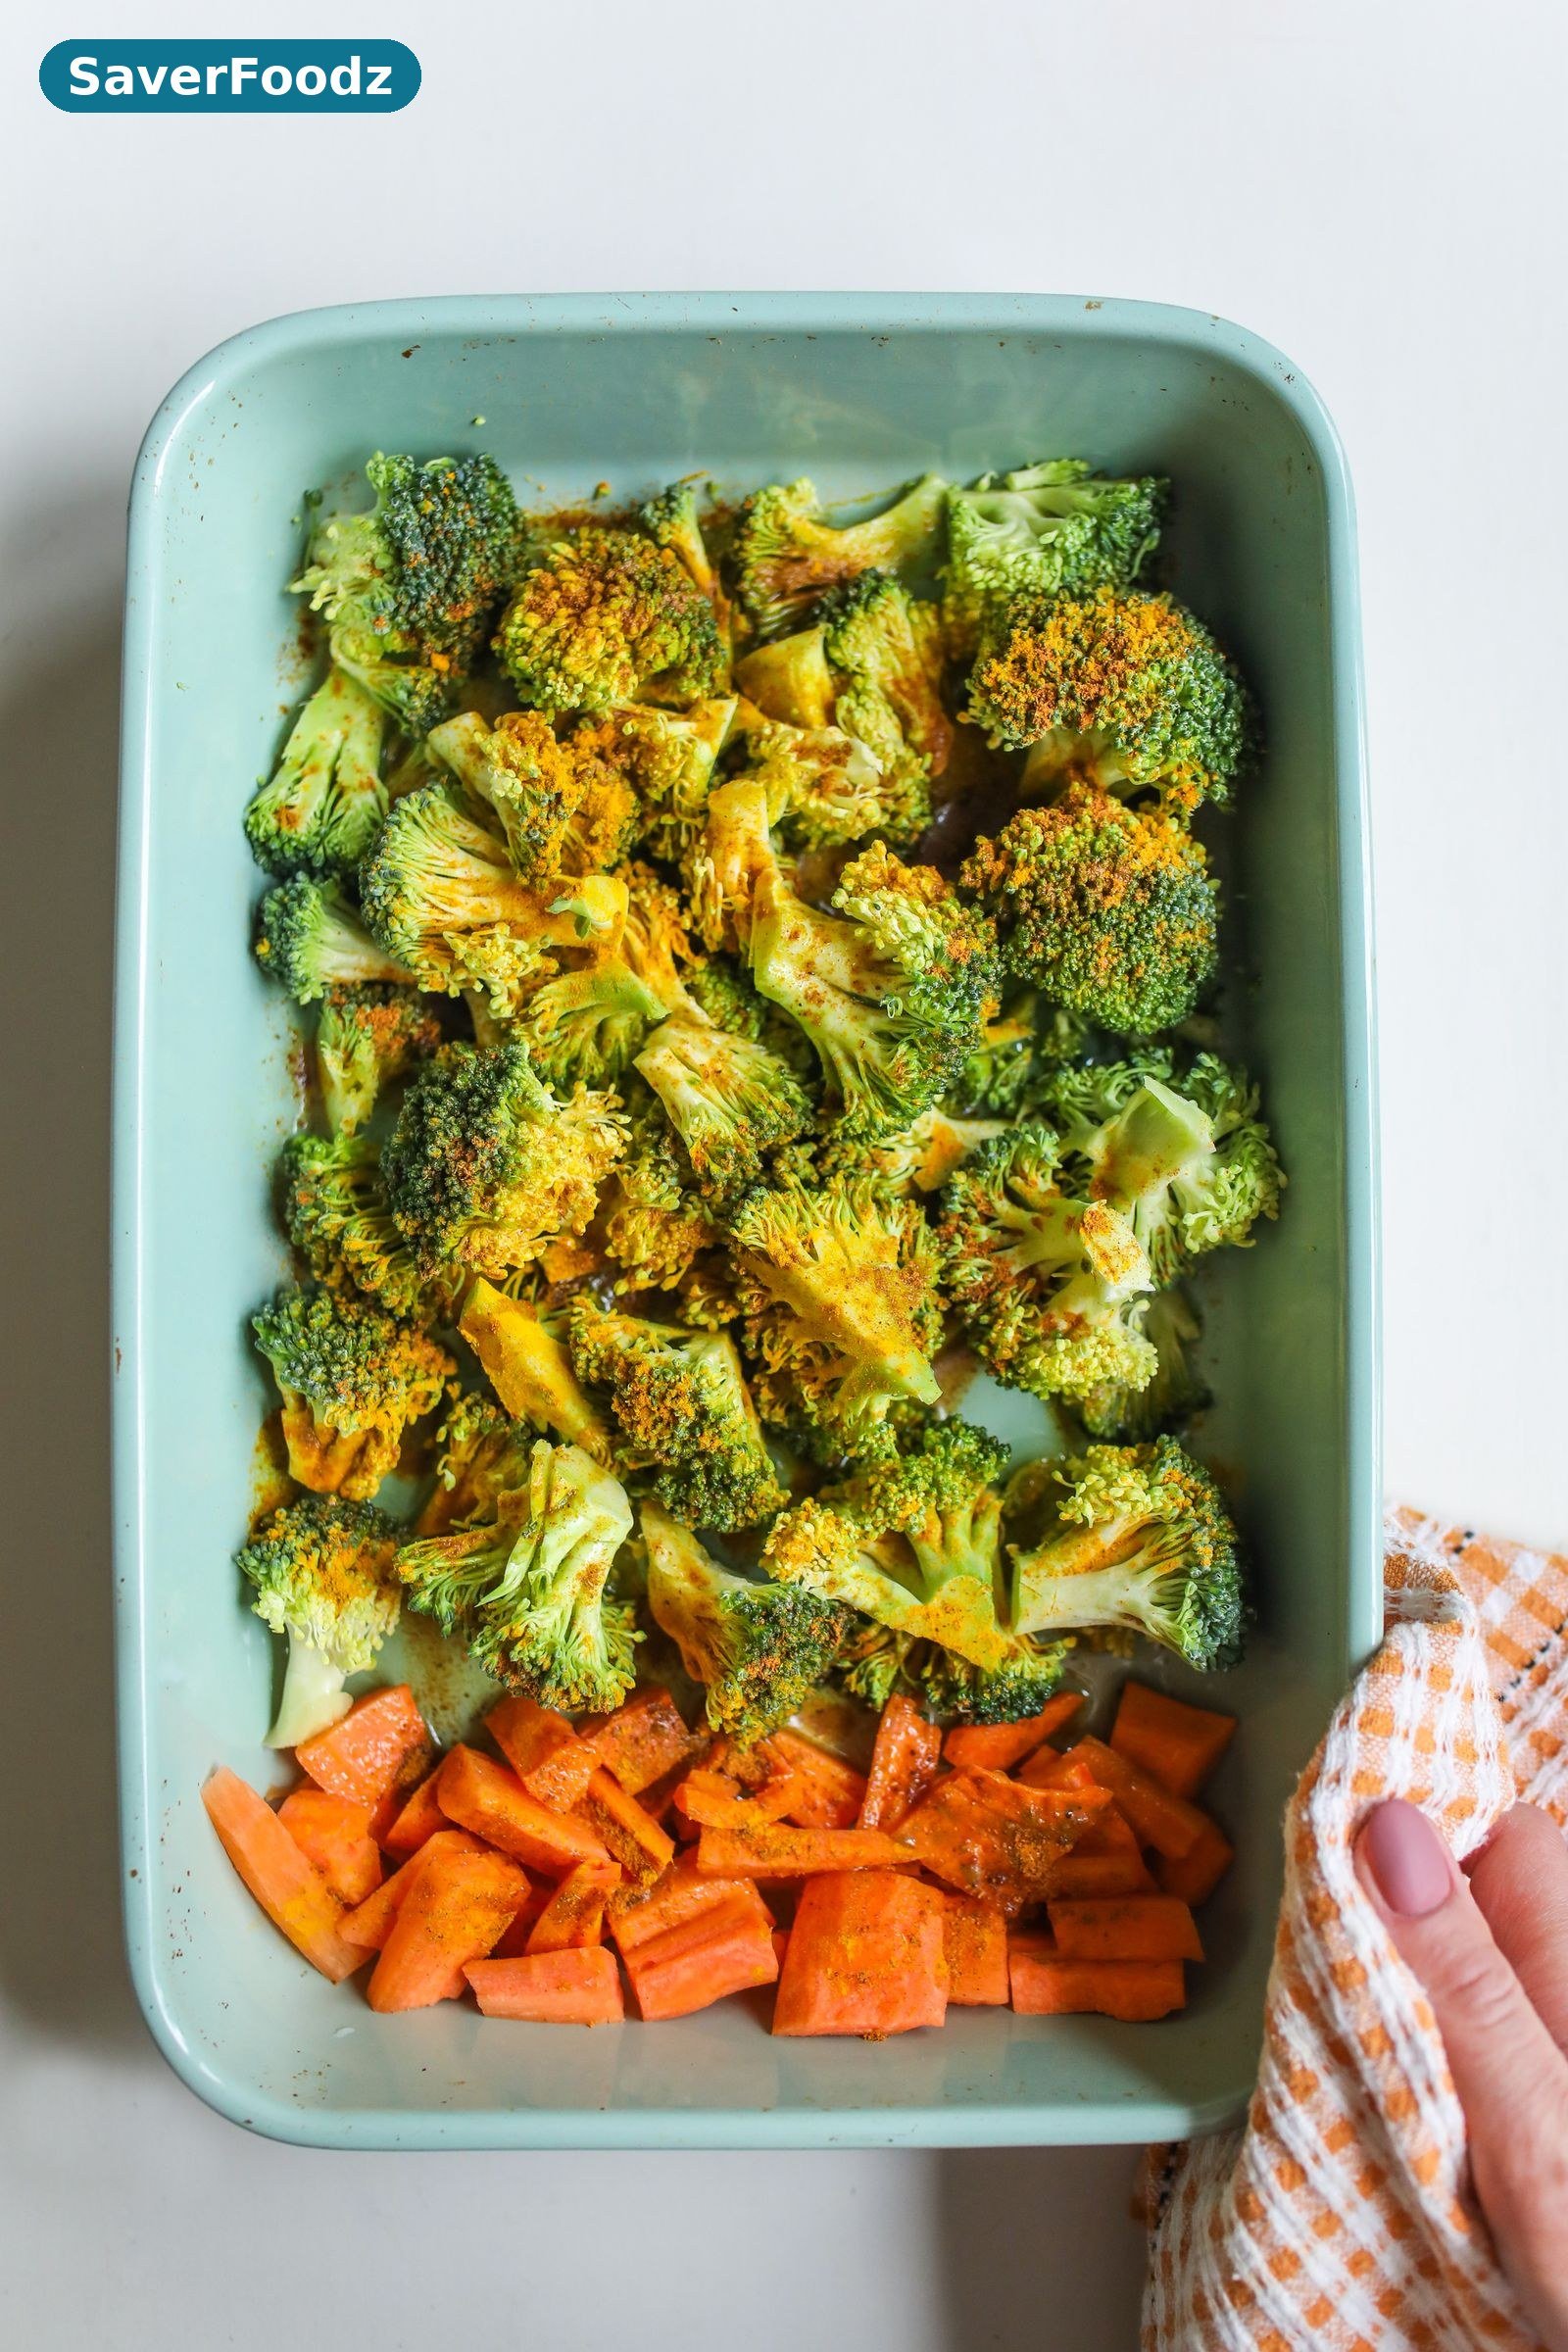
Roasted Broccoli with Parmesan and Lemon
There is a small moment, about twenty minutes into roasting, when broccoli stops being the vegetable people push to the side of the plate and turns into the thing everyone reaches for first. The edges go dark and crisp, the little florets catch a bit of char, and the whole tray smells like garlic and lemon. That is the moment this recipe is built around.
I have made roasted broccoli more times than I can count, and for a long time I did it the way most people do — toss it with oil, throw it in the oven, hope for the best. Sometimes it came out great. Sometimes it came out soft and a little sad, the kind of broccoli that makes people say they do not like broccoli. The difference between those two outcomes turned out to be a handful of small things, none of them hard, and once I started doing them every single time, the dish became reliable. This is that version: roasted broccoli with parmesan and lemon, golden at the edges, salty and bright, on the table in about twenty-five minutes.
It is the kind of side dish that earns its place next to almost anything. Roast chicken on a Sunday, a quick pan of salmon on a weeknight, a bowl of pasta when you do not feel like cooking a whole production — this broccoli fits all of it. And if you are the person in the house who is supposed to make sure a vegetable shows up at dinner, this one actually gets eaten, which is the whole point.
Why This Roasted Broccoli Works So Well
Broccoli is one of those vegetables that rewards high heat. A hot oven does two things at once: it drives the moisture out of the surface so the florets can crisp, and it caramelizes the natural sugars, which is where that sweet, almost nutty flavor comes from. Steamed broccoli is fine, but it never gets that flavor. Roasted broccoli does, and the parmesan and lemon on top are there to finish the job — salt and richness from the cheese, brightness and a little acidity from the lemon, which keeps the whole thing from tasting heavy.
The other thing that makes this recipe work is that it does not ask much of you. One pan, one bowl, five minutes of prep. There is no blanching, no complicated technique, and no ingredient you would need to make a special trip for. If you have broccoli, olive oil, garlic, a lemon, and some parmesan in the fridge, you are already there. I keep parmesan in the fridge almost all the time for pasta, so this is often a dinner I can make without thinking about it, which on a busy evening is worth a lot.
It is also genuinely good for you, in the plain, ordinary sense. Broccoli brings fiber, vitamin C, vitamin K, and folate to the table, and roasting it with olive oil helps your body absorb the fat-soluble vitamins in it. I am not going to pretend one side dish changes your diet, but it is a nice thing to know about a dish your family actually asks for. If you are curious about the numbers, the nutritional profile of broccoli is well documented, and the USDA FoodData Central database lists the full breakdown for raw and cooked broccoli if you ever want to check a specific vitamin or mineral.
Ingredients You Will Need
For four servings as a side dish, you will need:
- 2 large heads of broccoli, about 1 1/2 pounds total
- 3 tablespoons olive oil
- 3 cloves garlic, thinly sliced
- 1 teaspoon kosher salt, plus more to taste
- 1/2 teaspoon black pepper, freshly ground if you have it
- 1/2 teaspoon red pepper flakes (optional, but I like the little bit of warmth)
- 1 lemon, half zested and juiced, half cut into wedges for serving
- 1/2 cup finely grated parmesan cheese
- 1 tablespoon extra olive oil, for finishing
A note on the parmesan: finely grated works better here than the coarse shreds. The fine grating melts a little in the heat of the tray and clings to the florets, so you get salty, savory flavor in every bite instead of long strings of cheese sitting on top. If you only have a block, grate it on the small holes of a box grater. And if you can, use a real wedge of parmesan rather than the pre-grated tub — the flavor is noticeably better, and it melts more evenly because it does not have the anti-caking starch that pre-grated cheese does.
For the lemon, use a fresh one. Bottled lemon juice does the job in a pinch, but the zest is half the point here, and you cannot get zest from a bottle. The zest goes on with the cheese at the end, and it is what makes the dish smell so good when it hits the table.
How to Cut Broccoli for Roasting
How you cut the broccoli matters more than most recipes admit. The goal is florets that are roughly the same size, so they cook at the same rate, with as much flat surface as possible facing the pan. The flat cut side is what browns.
Start by cutting off the thick woody end of the stalk, then cut the head into large pieces, working from the outside in and following the natural branches. Then take each piece and slice it lengthwise through the stem so you get flat, even florets, about an inch and a half to two inches across. The small tree-shaped pieces look nice, but the flat ones roast better, so I favor flat over pretty. Peel the stalk if the outside feels tough, and slice the tender inner stalk into coins — it roasts beautifully and there is no reason to throw it away. I used to throw stalks out, and I do not anymore; they are sweet, they crisp up nicely, and wasting good food for no reason has never sat right with me.
One more thing: make sure the broccoli is dry before it goes on the tray. If you have just washed it, give it a good shake and then pat it dry with a clean towel or let it sit in a colander for a few minutes. Water on the surface turns to steam in the oven, and steam is the enemy of crisp. This is the single most common reason roasted vegetables come out soft, and it is also the easiest to fix.
Step by Step: Roasting the Broccoli
Heat the oven to 425°F (220°C) and put a large rimmed baking sheet in the oven while it heats. A hot pan is a small thing that makes a real difference — the broccoli starts sizzling the moment it touches the metal, and that head start is what gets the bottoms properly browned. Line the pan with parchment if you want an easier cleanup, but if you do, the browning will be a little less dramatic. I usually go without parchment for this one and soak the pan for ten minutes afterward.
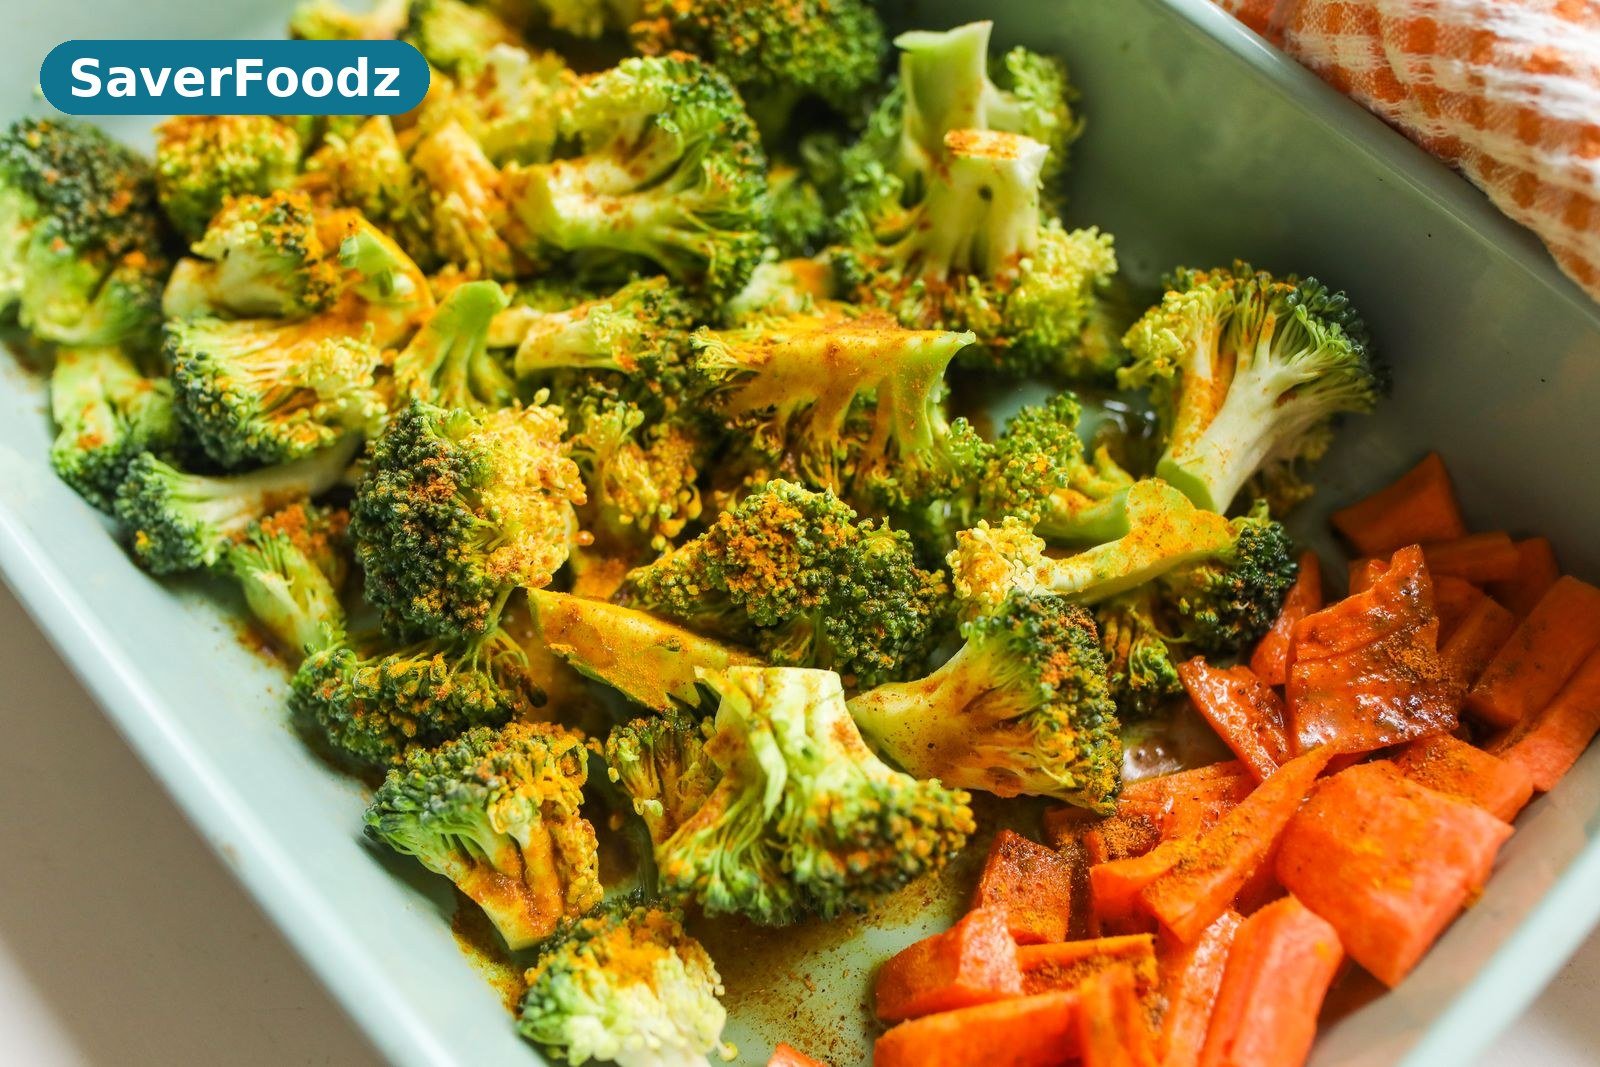
While the oven heats, put the broccoli in a large bowl and drizzle over the olive oil. Toss it with your hands until every floret has a thin, even coat. Then add the sliced garlic, salt, pepper, and red pepper flakes and toss again. I add the garlic at this stage rather than later because the slices soften and sweeten in the oven, but keep an eye on them — if your garlic slices are very thin, they can burn before the broccoli is done, in which case pull the pan out and pick off any blackened pieces. Nobody needs burnt garlic in their dinner.
Spread the broccoli out on the hot pan in a single layer, cut side down where you can, and give the pieces room. This is the rule that matters most: if the florets are crowded together, they steam instead of roast, and you will end up with soft broccoli no matter how hot the oven is. If your tray looks full, use a second tray. It is better to wash two pans than to eat soggy broccoli.
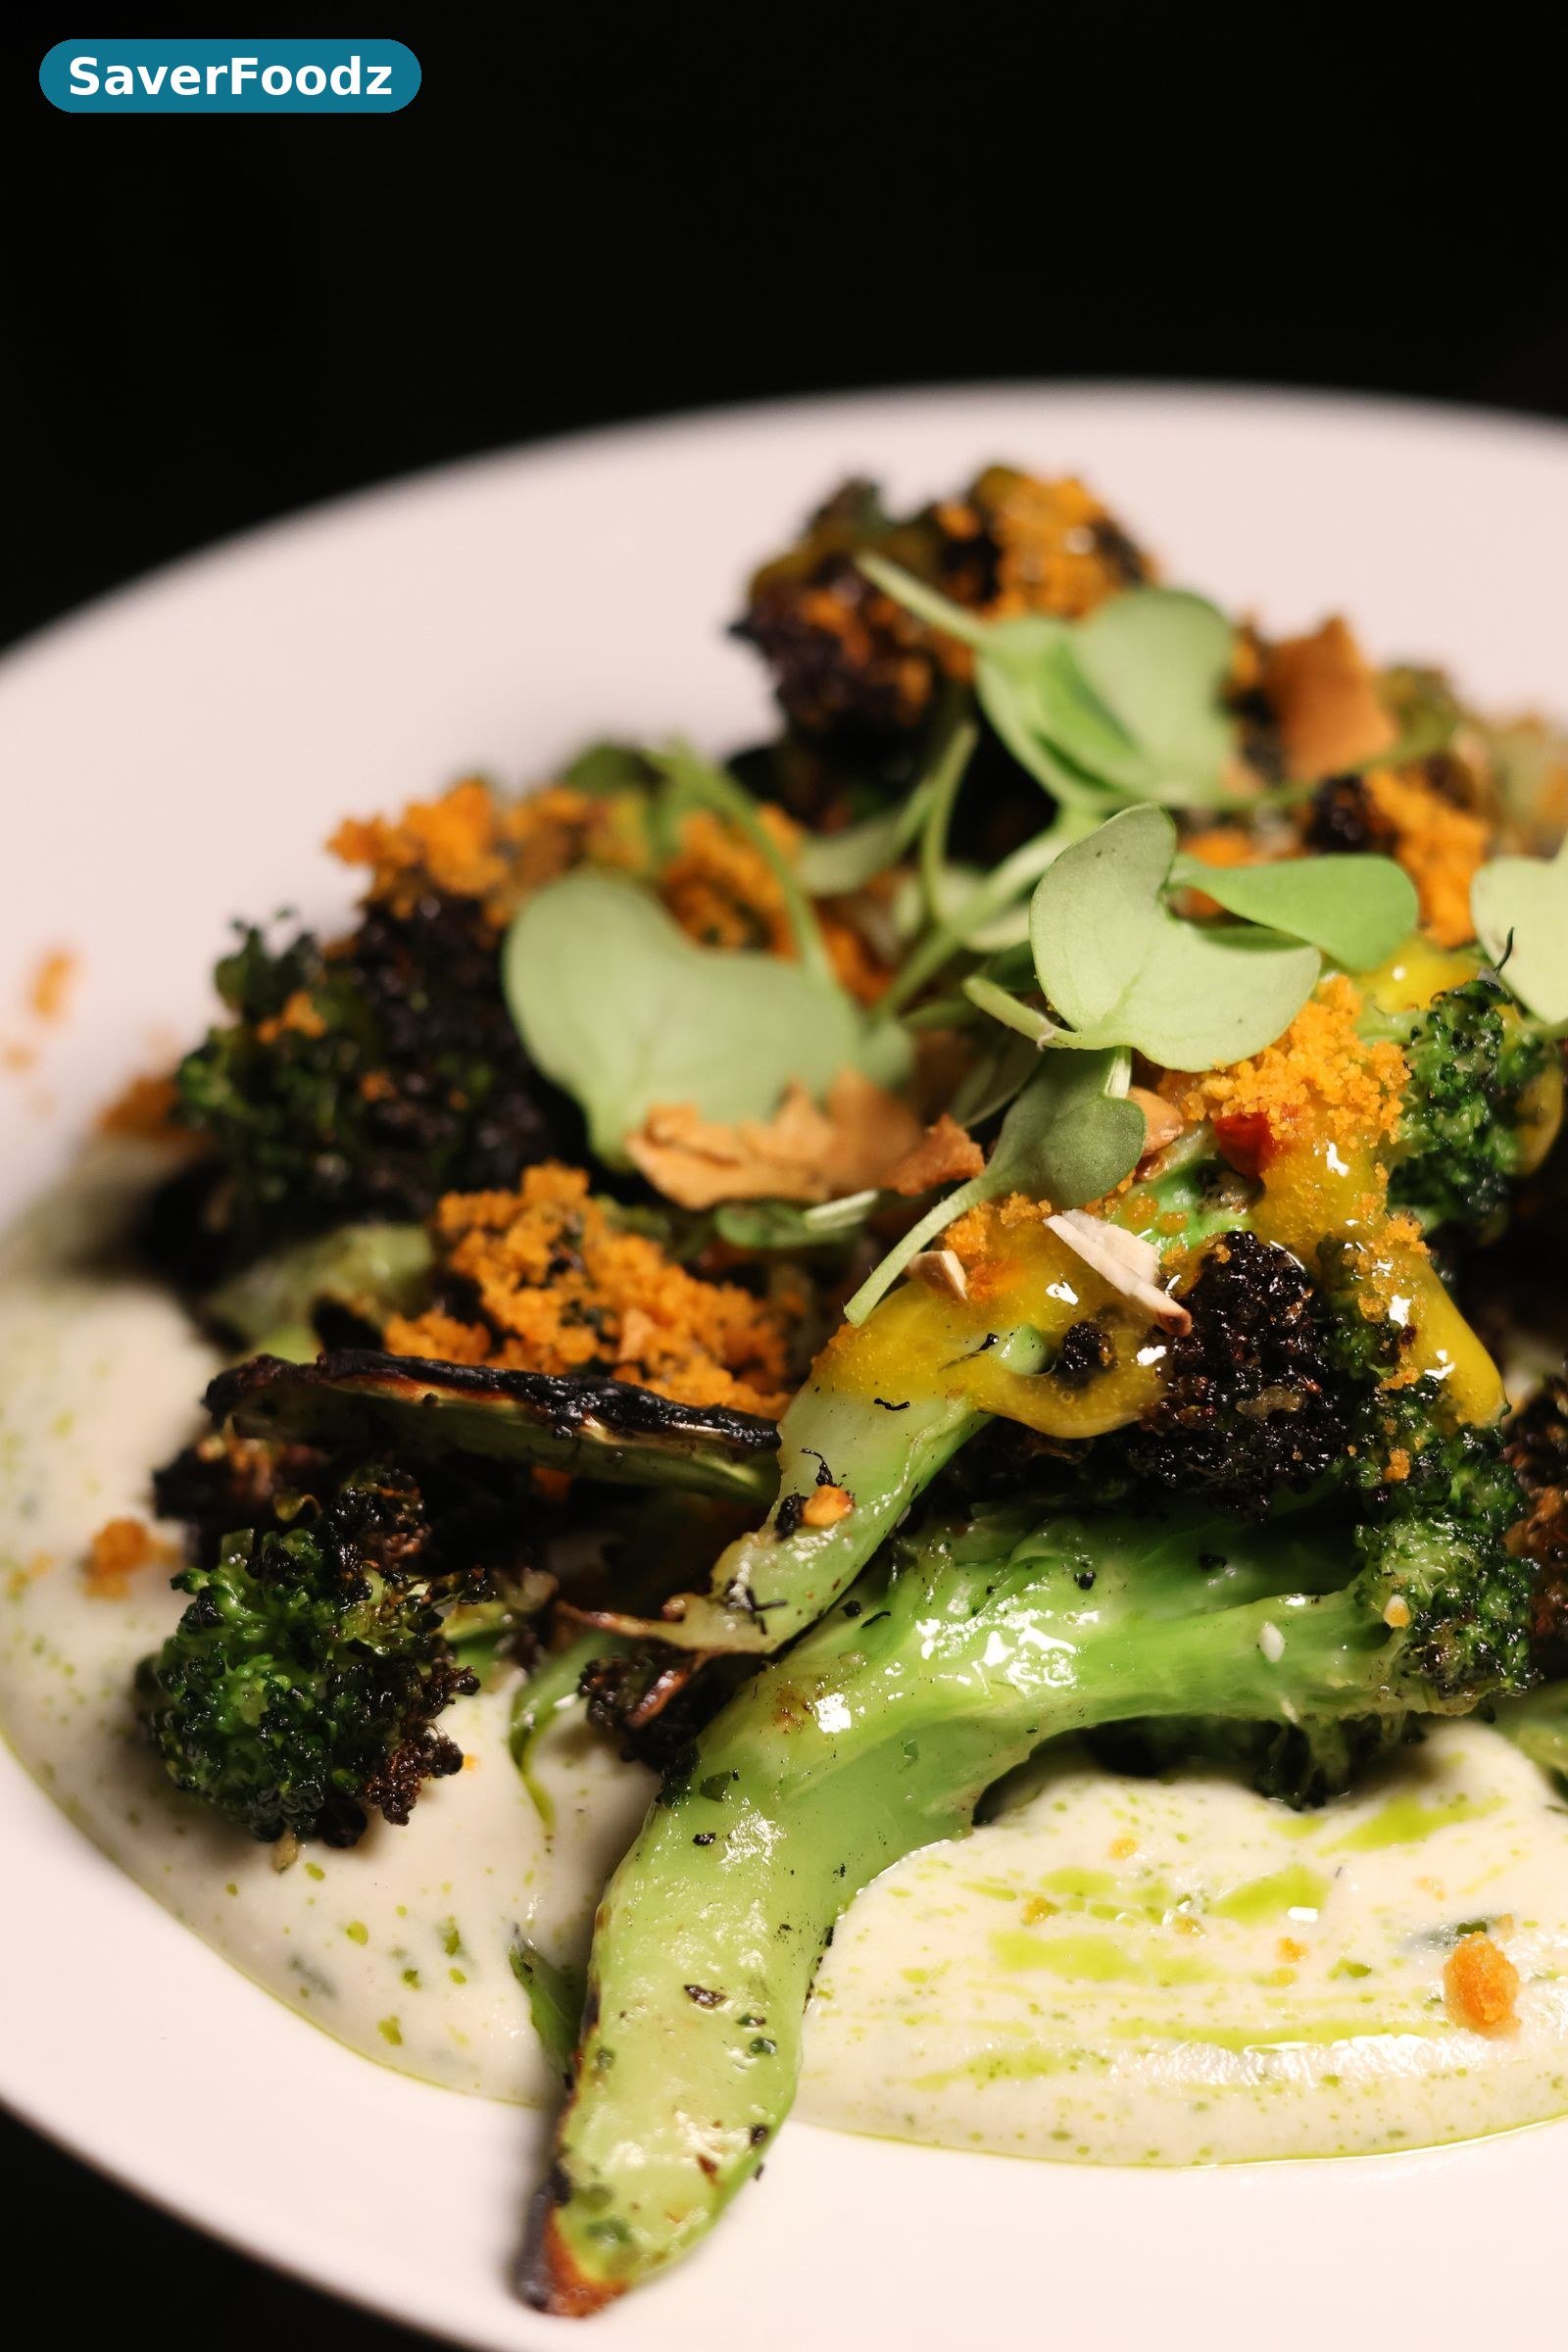
Roast for 18 to 22 minutes, turning the florets once about halfway through. You are looking for deep golden-brown edges, a few dark and crispy tips, and stems that are tender when you poke them with a knife. The exact time depends on the size of your florets and your oven, so start checking at 18 minutes. In my oven it is usually right around 20. When it looks done, pull the pan out and work fast — the finishing touches go on while the broccoli is still hot.
Squeeze the lemon juice over the tray, sprinkle over the lemon zest and the parmesan, and drizzle with the extra spoonful of olive oil. Toss everything right on the pan so the cheese melts a little and coats the florets, then taste and add another pinch of salt if it needs it. Serve it straight from the pan or pile it into a warm bowl with the lemon wedges on the side.
Tips for the Crispiest Roasted Broccoli
After making this more times than I can remember, these are the things that actually move the needle. First, do not skimp on the heat. An oven at 425°F is the sweet spot — hot enough to crisp the edges before the inside turns to mush, not so hot that the garlic burns before the broccoli is tender. If your oven runs cool, and many do, an oven thermometer is a small purchase that will improve almost everything you roast.
Second, keep the pieces even. One giant floret next to a tiny one means one of them will be raw and the other will be burnt. It takes an extra minute at the cutting board and it is worth it every time.
Third, let the broccoli sit undisturbed for the first stretch of cooking. It is tempting to shake the pan every few minutes, but the browning happens where the broccoli touches the hot metal, and moving it interrupts that. One flip halfway through is enough.
Fourth, season at the end as well as at the beginning. Salt before roasting, then taste after the lemon and parmesan go on. Parmesan is salty, lemon is bright, and the balance shifts once they are added, so the final pinch of salt is a judgment call, not a fixed amount.
Finally, serve it hot. Roasted broccoli holds up better than most vegetables, but it is at its best in the first ten minutes out of the oven, when the edges are still crisp and the cheese is just melted. If dinner is not quite ready, you can hold the pan in the turned-off oven for a few minutes, but do not cover it with foil — the trapped steam will soften everything you just worked for.
Easy Variations to Try
Once you have the base recipe down, it is easy to change the mood of the dish without changing the method. A handful of toasted pine nuts or sliced almonds scattered over the top at the end adds crunch and a little richness. A spoonful of chili crisp instead of the red pepper flakes gives it a garlicky heat that pairs well with rice and noodles. If you want it a little more filling, toss in a can of drained chickpeas with the broccoli — they roast alongside it, get crisp at the edges, and turn the side dish into something close to a light lunch.
For a different cheese, pecorino romano works in place of the parmesan and is a little sharper and saltier, so use a touch less salt in the seasoning. Crumbled feta added after roasting is also good, though it stays soft rather than melting, which gives the dish a different character — creamy and tangy instead of savory and crisp. Both are worth trying, and neither requires changing anything else.
If you are cooking for someone who does not eat dairy, the dish still works without the parmesan. Leave it off, add a little extra lemon zest, and finish with a spoonful of nutritional yeast or a scattering of toasted breadcrumbs fried in olive oil with garlic. You lose the salty melt of the cheese, but you keep the crunch and the brightness, which are the heart of the recipe.
In the summer, when lemons are cheap and basil is everywhere, I sometimes swap the parmesan for a handful of torn basil leaves and a little extra olive oil. It is a different dish at that point — lighter, greener, more summery — but the roasting method is exactly the same, and that is the point. Learn the method once and you can dress it a dozen ways.
What to Serve with Roasted Broccoli
This is where the recipe earns its keep, because it goes with almost everything you already cook. My favorite pairing is a simple roast chicken, and if you want a chicken dish that comes together with the same weeknight ease, my creamy garlic butter chicken thighs are a natural match — the rich, garlicky sauce and the bright, lemony broccoli balance each other on the plate. On pasta nights, it sits happily next to a bowl of one-pan lemon herb chicken orzo, where the lemon in both dishes ties the meal together without feeling repetitive.
For fish nights, the lemon and parmesan here are a classic match for salmon, and the air fryer honey glazed salmon is one of those dinners that is on the table in about twenty minutes — the broccoli roasts while the salmon cooks, and the two finish at almost the same time. If you are building a whole spread, a bowl of plain rice or some crusty bread to mop up the garlicky oil is all you need, and if there is still room for dessert, the evening usually ends with classic chocolate chip cookies and a cup of tea in our house.
Beyond those pairings, think of it as the green vegetable for any plate that needs one: steak, pork chops, a baked potato with sour cream, a grain bowl, a frittata. It is also good cold the next day, tossed into a salad or tucked into a wrap with hummus, which is more than I can say for most roasted vegetables.
Storing and Reheating Leftovers
Leftovers keep in an airtight container in the fridge for three to four days. The broccoli will soften a little in the fridge — that is unavoidable — but it is still good, especially reheated properly. The best way to bring it back is in a hot oven or an air fryer at 400°F for about five minutes, which re-crisps the edges. The microwave will heat it through, but it will also make it soft, so I only use it when I am in a hurry and do not care much about texture.
If you know you will have leftovers, it helps to hold back the parmesan and lemon on the portion you plan to save, and add them fresh when you reheat. The cheese melts better the second time that way, and the lemon tastes brighter. I do not recommend freezing roasted broccoli — it goes limp when it thaws, and this is a quick enough dish that making a fresh batch is barely more work than defrosting one.
Frequently Asked Questions
Can I use frozen broccoli for this recipe?
You can, but it will not get as crisp as fresh. Frozen broccoli holds a lot of water, and even after thawing and drying it, the texture is softer. If frozen is what you have, thaw it completely, pat it very dry, and roast it at 450°F on a hot pan. It will still taste good with the parmesan and lemon, just with less crunch at the edges.
Why did my roasted broccoli come out soggy?
Almost always one of three things: the pan was crowded, the oven was not hot enough, or the broccoli was wet when it went in. Give the florets space in a single layer, make sure the oven is fully preheated to 425°F, and dry the broccoli well after washing. Those three fixes solve the problem nearly every time.
Should I add the parmesan before or after roasting?
After, always. Parmesan added before roasting tends to burn on the hot pan and stick, and you lose the flavor to a bitter, browned crust. Added at the end, while the broccoli is still hot, it melts just enough to cling to the florets without burning.
Can I make this in the air fryer?
Yes, and it works very well for a smaller batch. Cook the seasoned florets at 400°F for 10 to 12 minutes, shaking the basket once halfway through, then toss with the lemon, zest, and parmesan in a bowl right after. You will need to work in batches if you are cooking for more than two people, since the basket crowds easily.
Is the lemon zest really necessary?
Strictly speaking, no — the dish is still good with just the juice. But the zest carries the lemon oils, and that is where most of the fragrance lives. If you have a lemon in hand, zesting it takes about ten seconds and it is the difference between broccoli that tastes lemony and broccoli that smells like lemon before you even take a bite. I would not skip it.
How do I know when the broccoli is done?
Look at the edges, not the clock. The tips of the florets should be deep golden brown with a few dark, crispy spots, and a knife should slide into the thickest stem with just a little resistance. If the stems are still hard, give it another three to four minutes. If the edges are dark but the stems are tender, it is done — those dark edges are the best part.
That is the whole recipe, and honestly, it is one I come back to most weeks. It is fast, it uses ingredients I almost always have, and it turns a vegetable people tolerate into one they actually want. Make it once with a roast chicken or a pan of salmon, and I think it will earn a regular spot in your rotation too. The only problem I have ever had with it is that I never seem to make enough — so if you are feeding a hungry table, consider doubling the broccoli and using two pans. It disappears faster than you would expect.
2 Comments